
The Secret for Perfect Exposure

Sunrise Over The Grand Canyon
Understanding ISO in Photography
Photography is full of technical terms that can feel overwhelming when you're just getting started. So, for this blog, I thought we'd do something a little different and dive into one of the most important camera settings you'll ever learn: ISO.
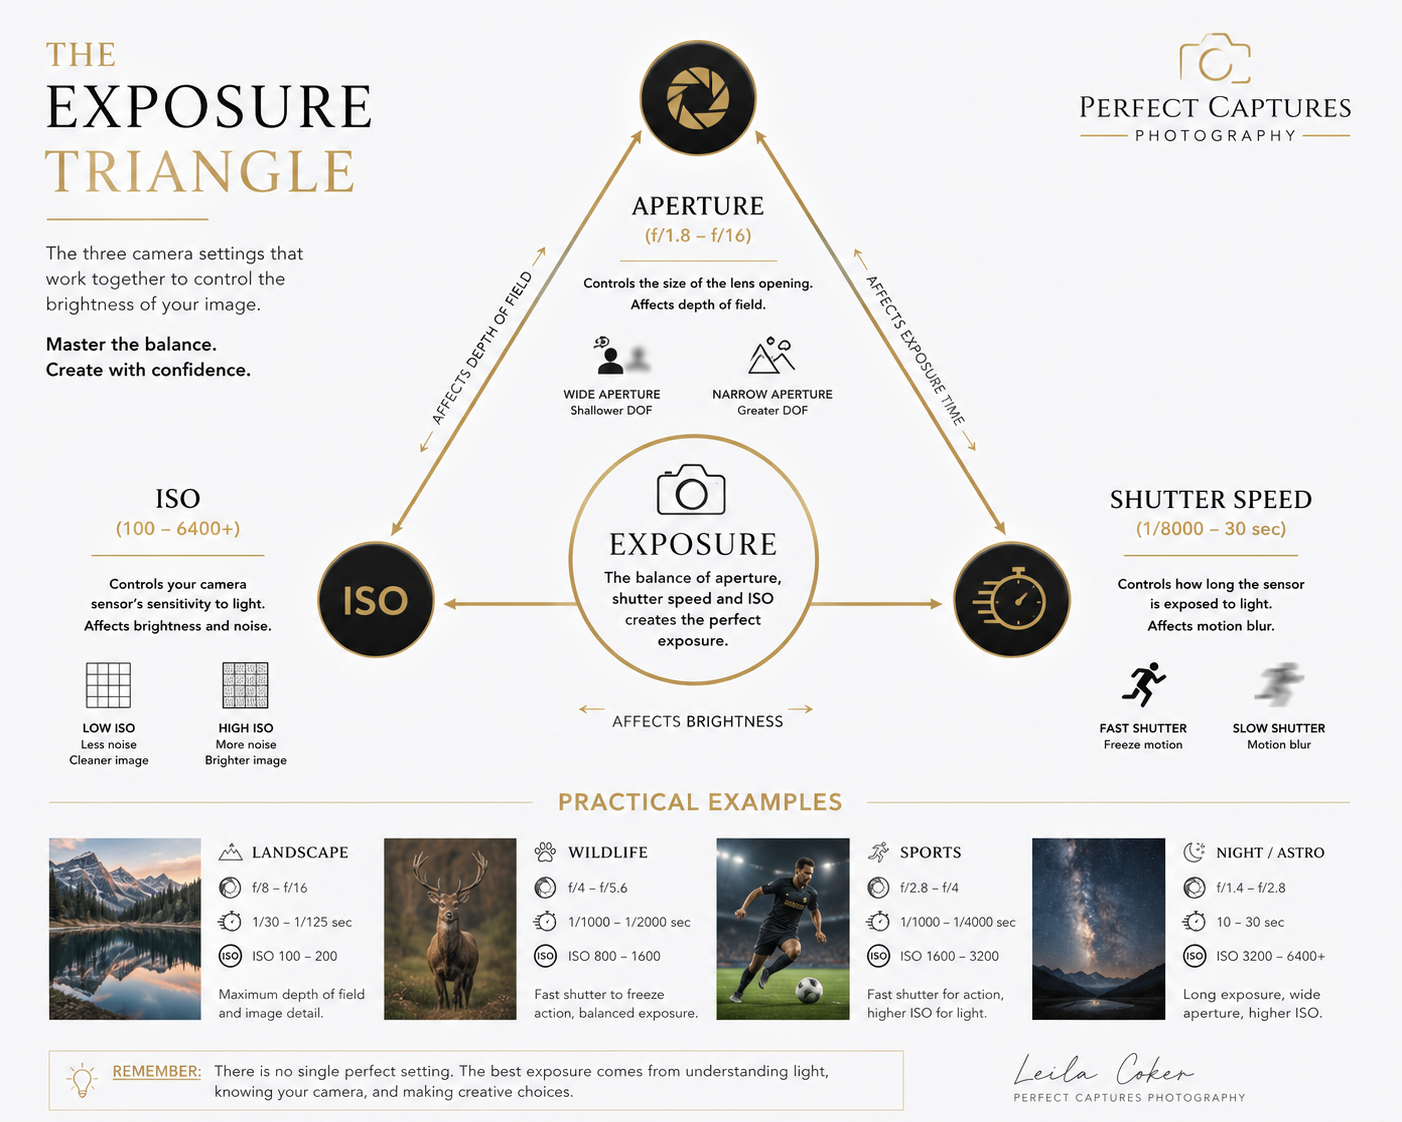
ISO is one of the three pillars of the Exposure Triangle, sitting alongside aperture and shutter speed. Once you understand how these three settings work together, you'll have far greater creative control over your photography.
Let's break ISO down into manageable pieces.
What Does ISO Actually Mean?
ISO stands for International Organization for Standardization. While the name sounds rather technical, in photography it simply refers to how sensitive your camera's sensor is to light.
Think of it as your camera's ability to gather available light.
Low ISO (100–200) – Your camera is less sensitive to light, producing cleaner images with very little digital noise. Best for bright conditions.
High ISO (1600, 3200 or even 12,800+) – Your camera becomes much more sensitive to light, allowing you to shoot in darker environments without needing a flash.
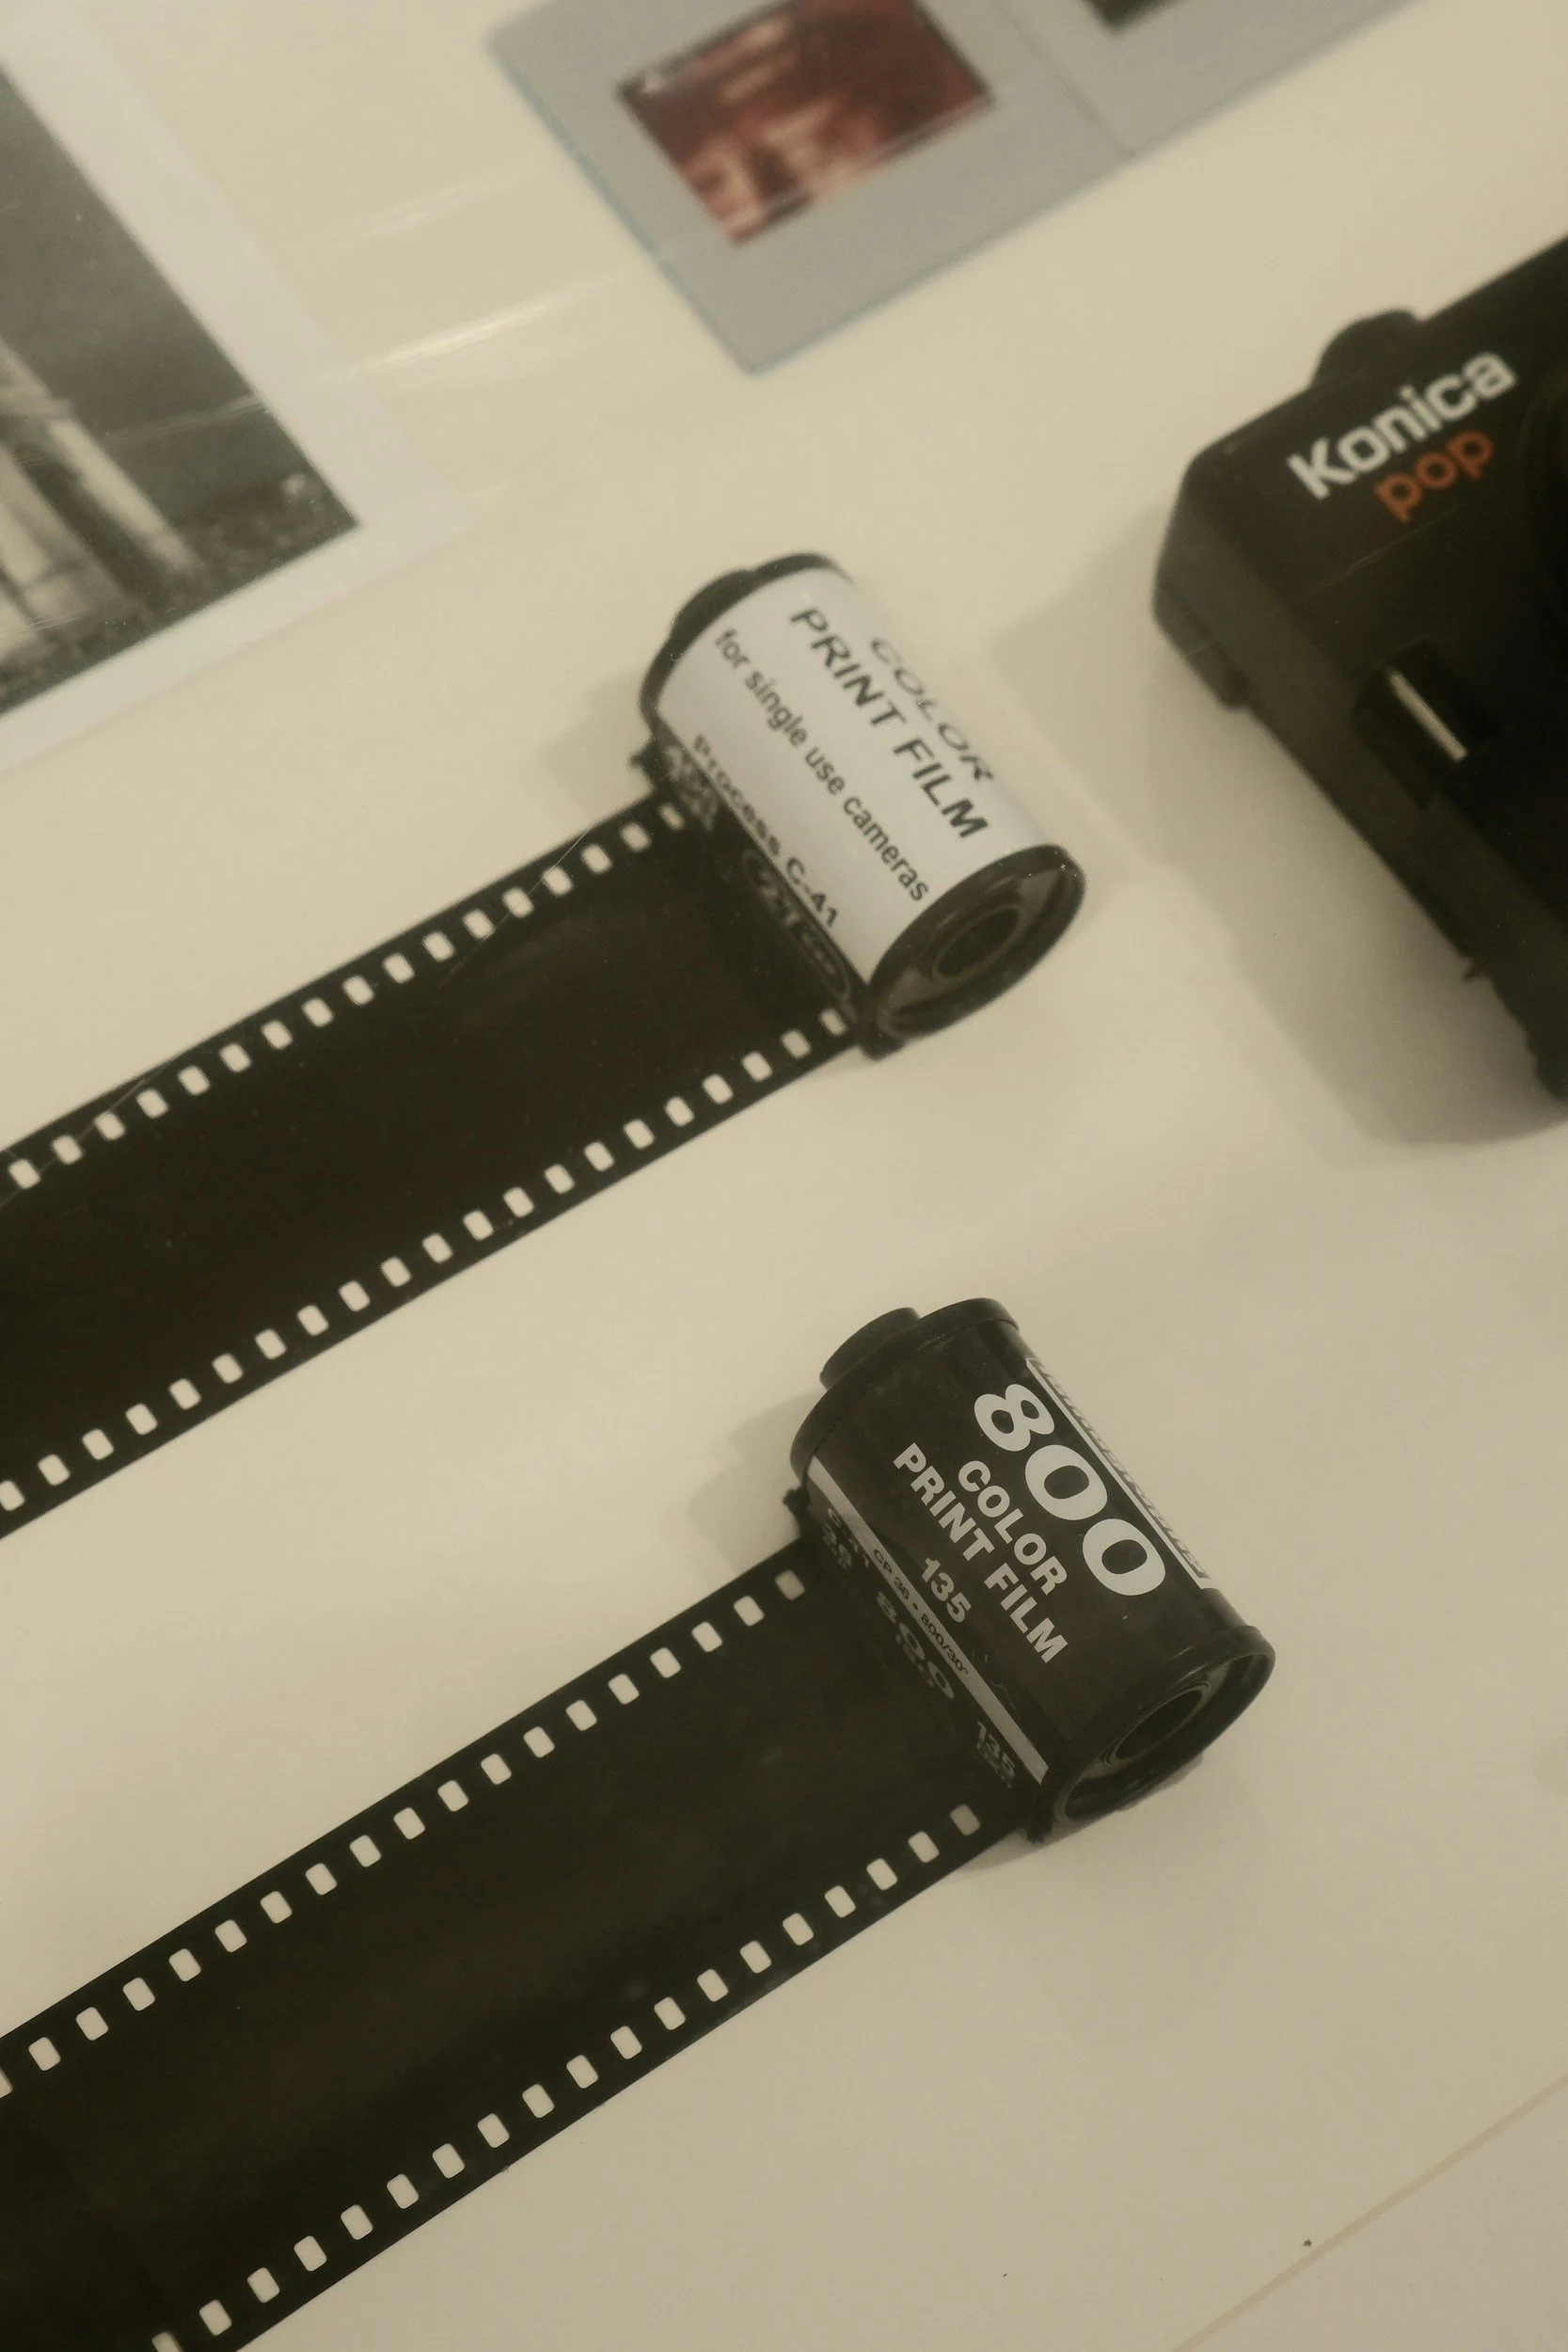
Rolls of 800 iso film
On modern digital cameras, changing ISO is as simple as turning a dial or selecting it from a menu. In the days of film photography, photographers had to load an entirely different roll of film if they wanted a different ISO.
ISO and the Exposure Triangle
Photography is all about controlling light.
The three settings that determine your exposure are:
Aperture – How wide your lens opens.
Shutter Speed – How long the sensor is exposed to light.
ISO – How sensitive the sensor is to that light.
These settings constantly work together. If you adjust one, you'll often need to compensate with another to maintain a balanced exposure.
For example:
Photographing indoors in low light? Increase your ISO so you can keep your shutter speed fast enough to avoid camera shake.
Shooting a bright landscape on a sunny day? Use ISO 100 and adjust your aperture and shutter speed instead.
Understanding this relationship is one of the biggest steps towards moving beyond Auto mode.
How ISO Affects Your Images
1. Brightness
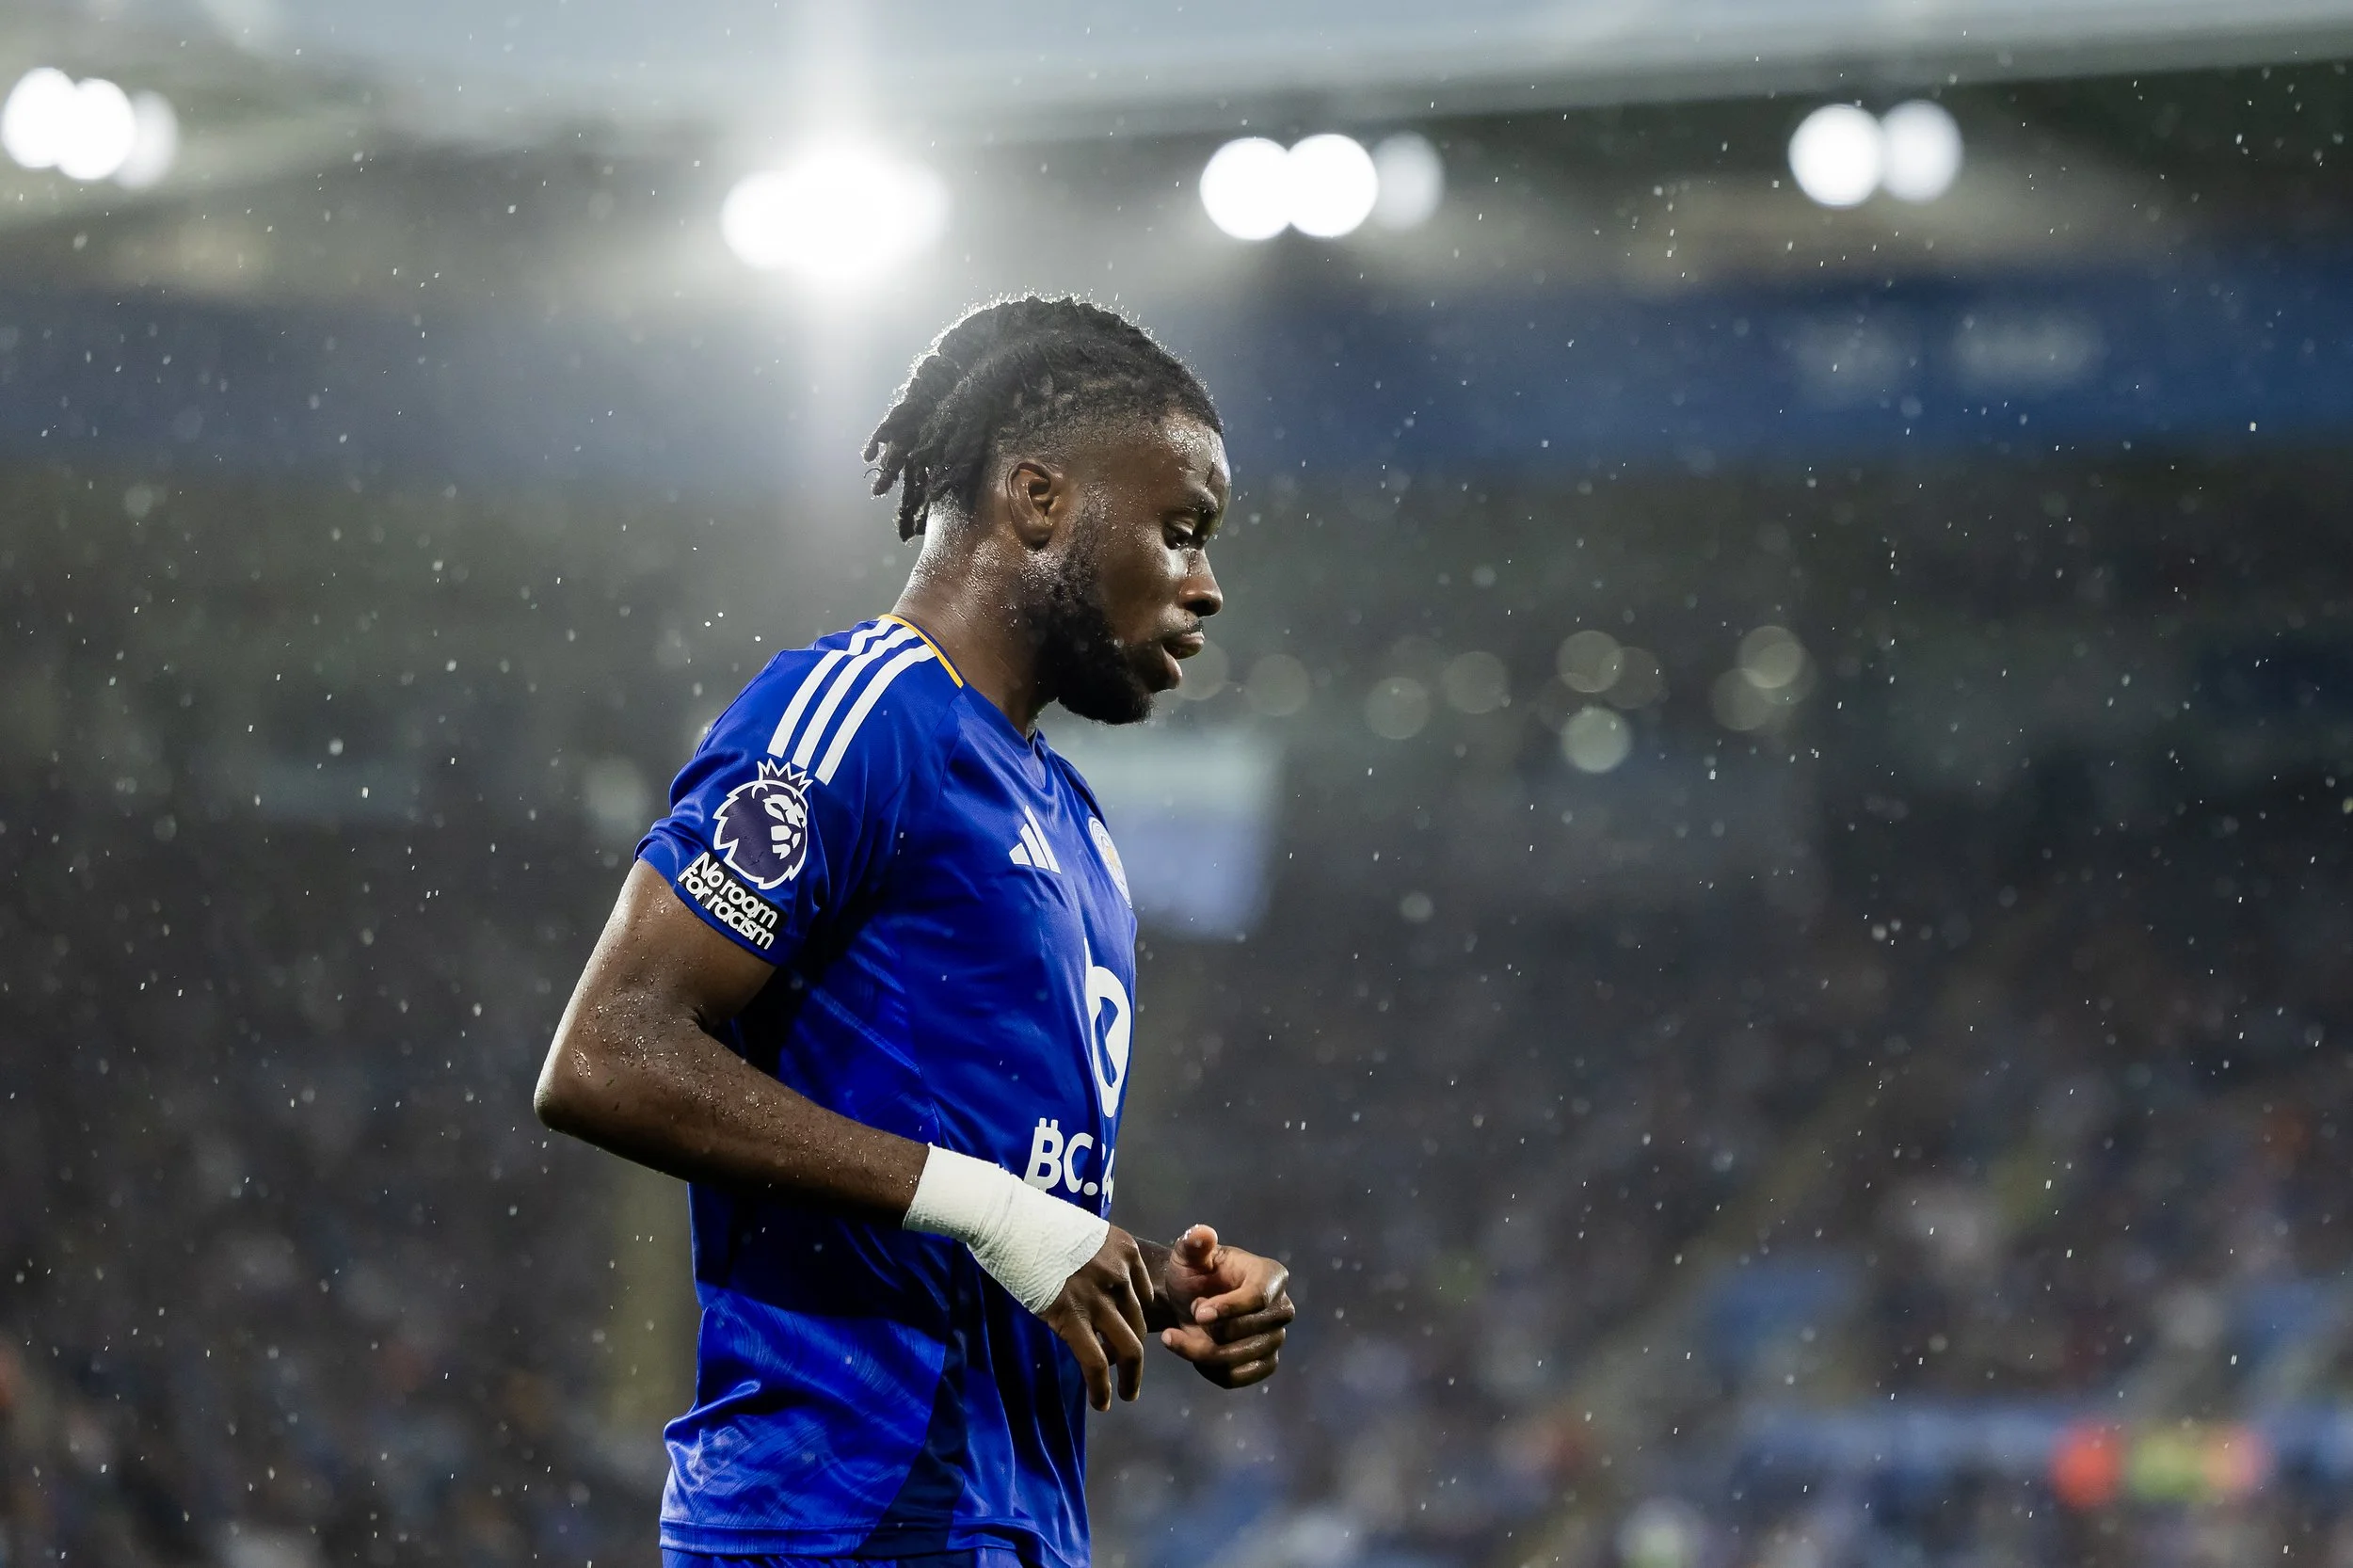
The higher your ISO, the brighter your image will appear when shooting in low light.
This is particularly useful when photographing:
Indoor events
Concerts
Night photography
Wildlife at dawn or dusk
Sports under floodlights
2. Digital Noise
Every photographer eventually discovers the trade-off.
As ISO increases, so does digital noise—those grainy, speckled patterns that reduce image quality.
Low ISO
Clean images
Sharp detail
Rich colours
High ISO
Increased grain
Reduced fine detail
More noticeable shadow noise
Modern cameras—particularly full-frame models—handle high ISO far better than they did just a few years ago, but noise is still something worth managing.
3. Dynamic Range
Another effect of using high ISO is a slight reduction in dynamic range.
Dynamic range is your camera's ability to capture detail in both the brightest highlights and the darkest shadows.
As ISO rises, highlights can clip more easily, shadows lose detail, and colours may appear less vibrant.
4. Post-Processing
Higher ISO images often require more noise reduction during editing in Lightroom or Photoshop.
While modern software does an excellent job, aggressive noise reduction can soften fine details, so it's always better to capture the cleanest file possible in-camera but if not, bring down the noise level in your photo raws, move over to the jpeg file in photoshop and then go back to camera raw under filter and bring down the noise again but make sure not to remove too much noise in regards losing detail. Alternatively, I highly recommend Topaz De Noise in regards to bringing down the noise whilst maintaining detail.
Practical Tips for Choosing ISO
Start Low
Whenever possible, begin at ISO 100 or 200. Increase it only when you need a faster shutter speed or there's simply not enough available light.
Learn Your Camera
Every camera performs differently.
Spend an afternoon photographing the same scene at ISO 100, 400, 800, 1600 and 3200. You'll quickly discover where noise begins to appear on your own camera.
Use Auto ISO
Auto ISO can be incredibly useful.
Most modern cameras allow you to set a maximum ISO value, giving you the flexibility of automatic adjustments while preventing the camera from choosing unnecessarily high settings but use with caution and in keep an eye on your settings.
Think About the Subject
A fast-moving football player requires a much faster shutter speed than a mountain at sunrise.
If keeping your shutter speed high is more important than absolute image quality, don't be afraid to increase the ISO.
Don't Fear a Little Grain
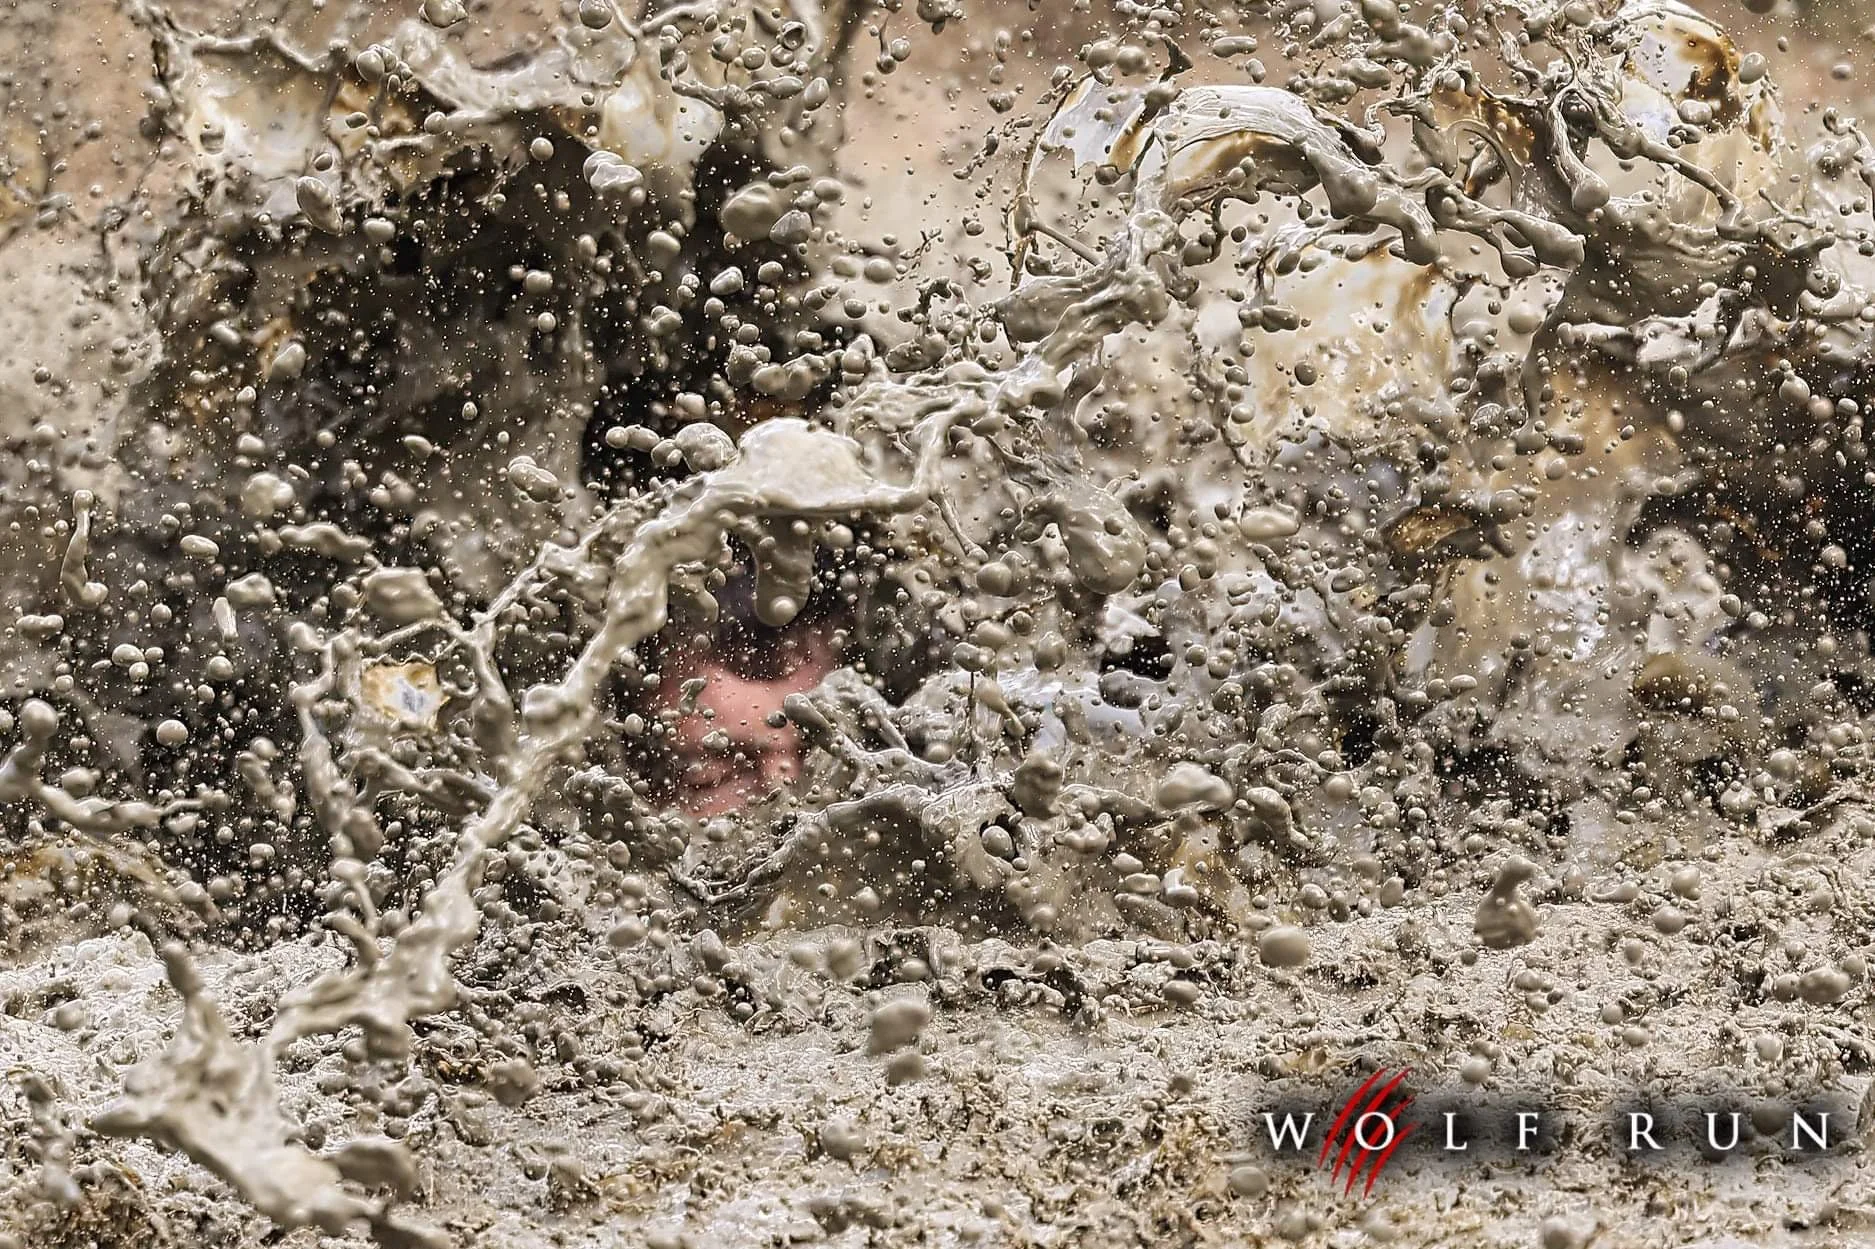
Sometimes noise actually enhances an image.
Street photography, documentary work, black and white portraits and atmospheric night scenes can all benefit from a little texture and character but for me, a great mud splash from a Wolf Run event can create amazing images.
Real-World Examples
Sunny Beach
ISO 100
Wide aperture
Fast shutter speed
Result: Clean, sharp images with excellent colour and detail.
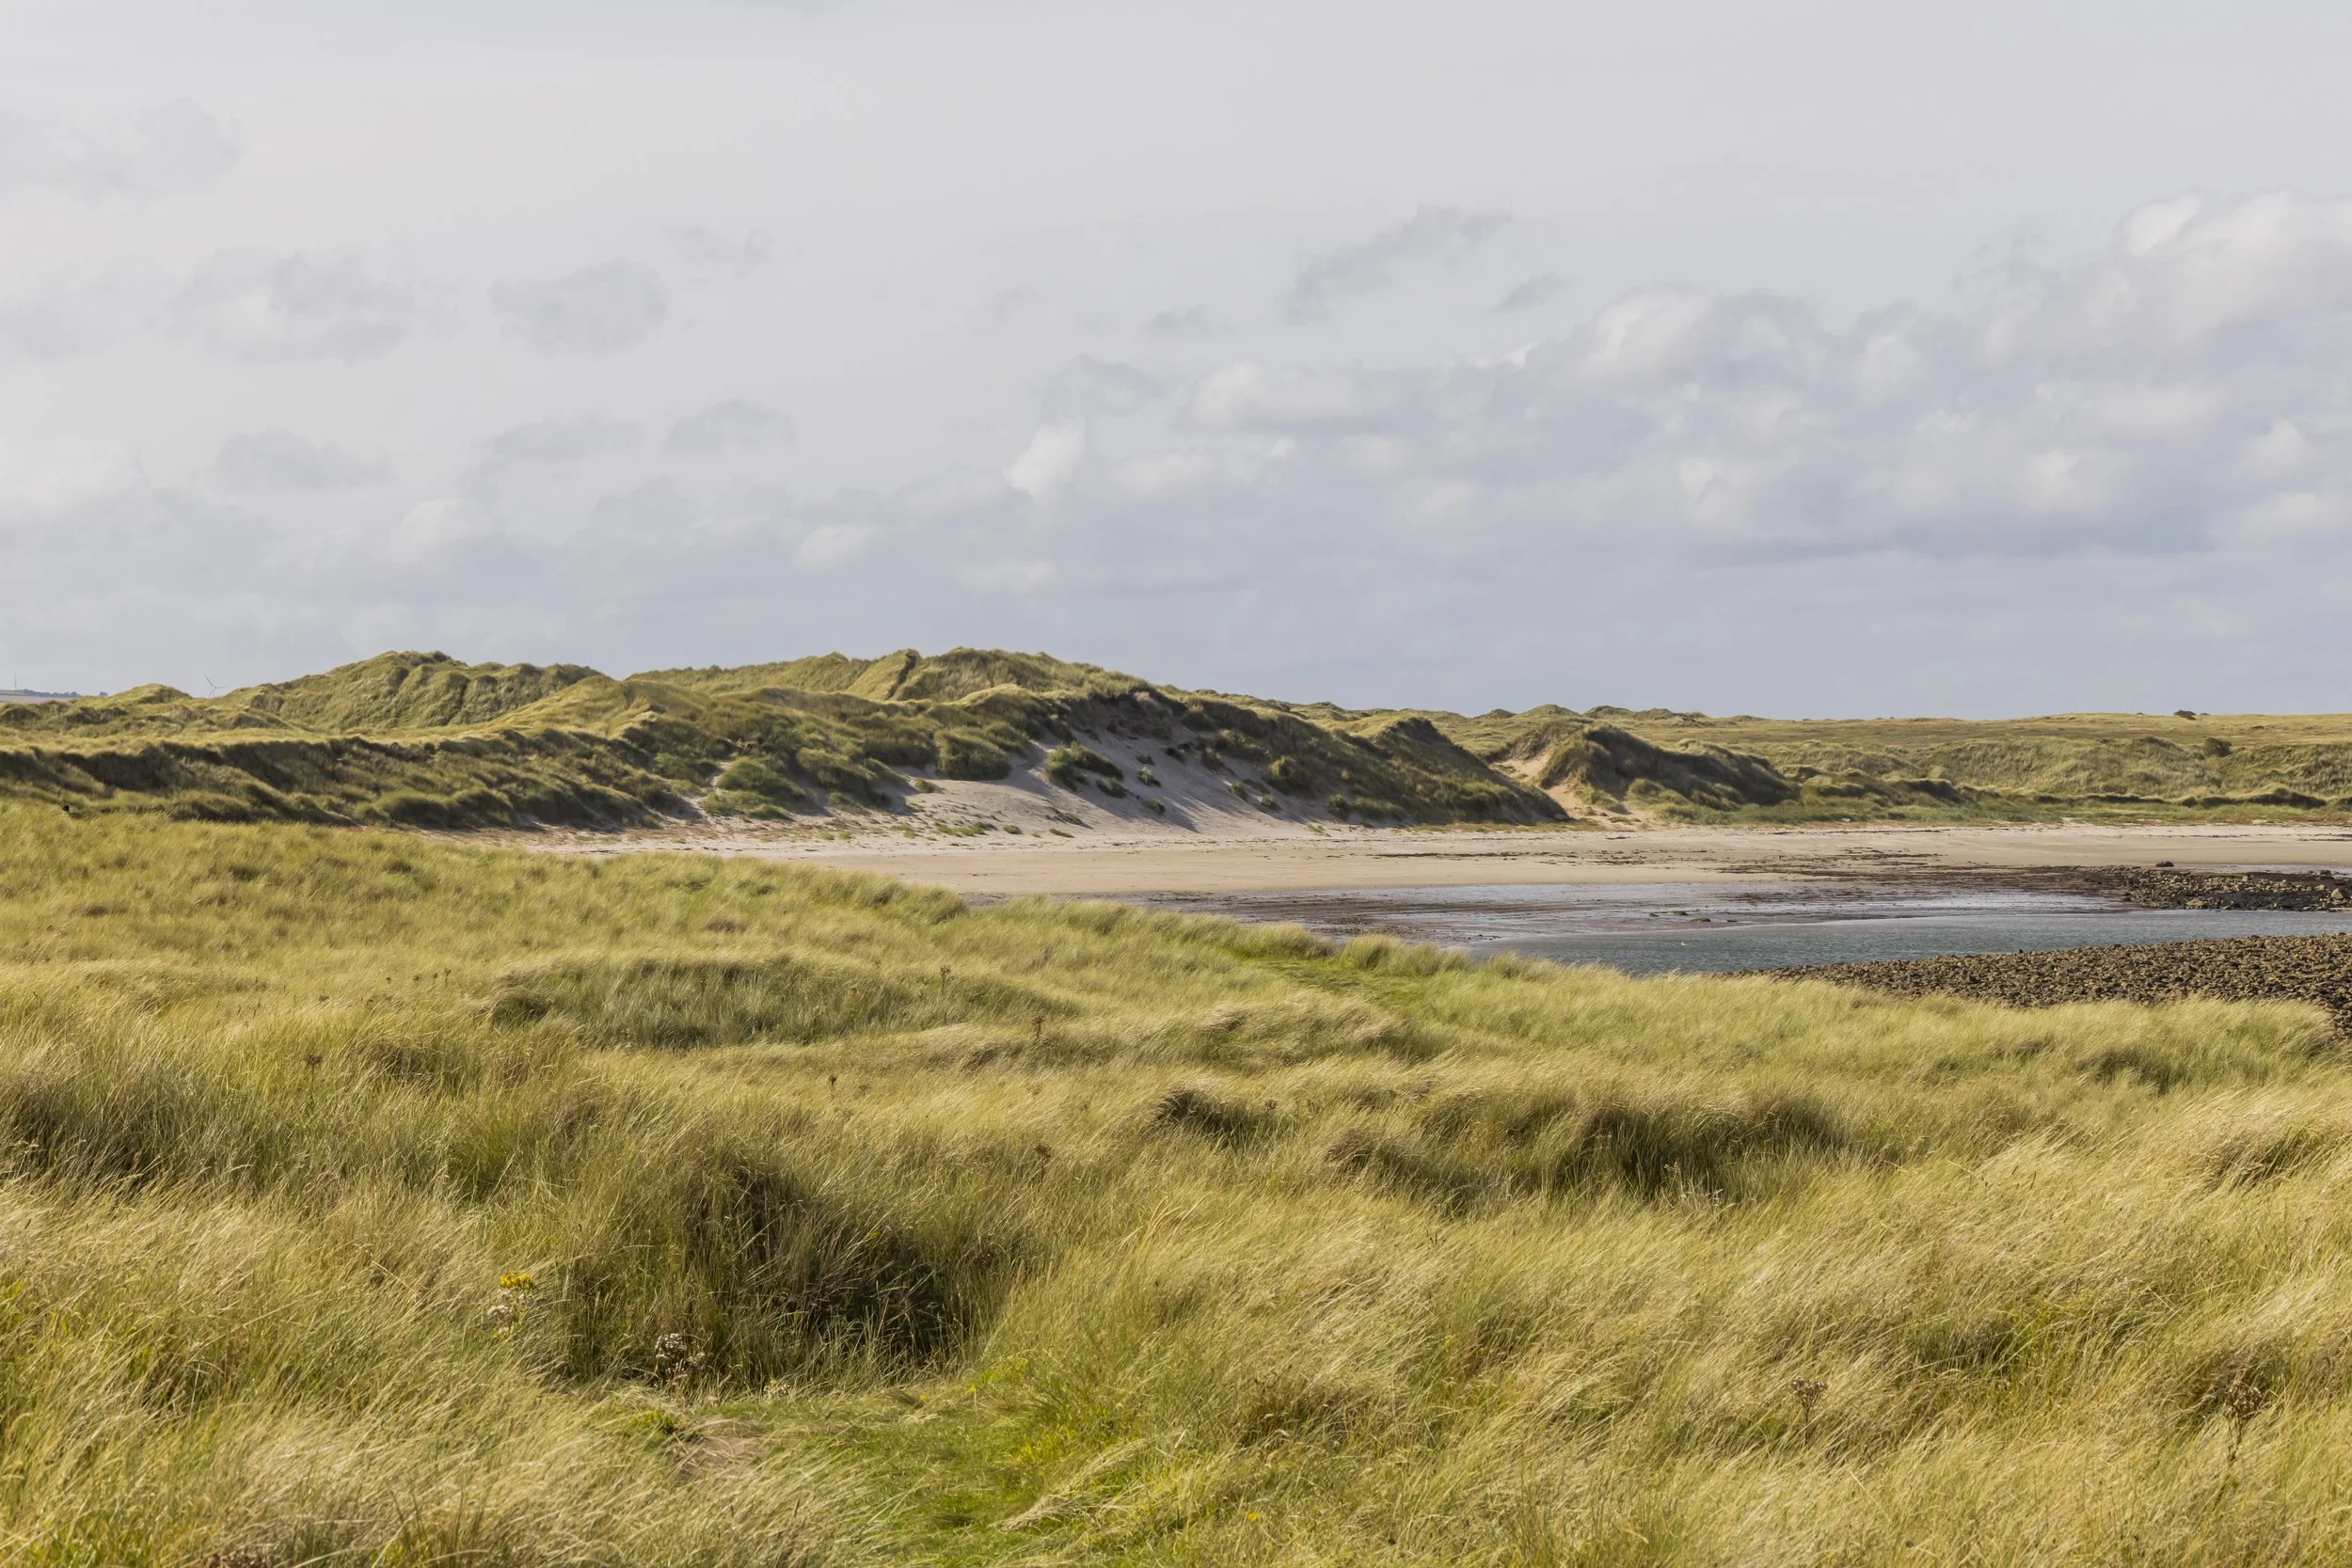
Sand Dunes
Night Sports
ISO 1600–3200
Wide aperture
Minimum shutter speed of 1/1600 sec
Result: Sharp action shots without relying on flash.
Milky Way Photography
ISO 3200–6400
Very wide aperture
Long exposure
Sturdy tripod
Result: Bright stars and detailed night skies while capturing as much available light as possible.
Final Thoughts
ISO is one of the most powerful tools available to photographers.
It allows you to adapt quickly as the light changes, giving you the flexibility to continue shooting in situations where your camera might otherwise struggle.
The golden rule is simple:
Use the lowest ISO you can, but never be afraid to raise it if it helps you capture the photograph.
A slightly noisy image is almost always better than a blurry one.
The best way to learn is through experience. Photograph the same scene at ISO 100, 800 and 3200, then compare the results side by side. You'll soon begin to recognise exactly how ISO affects your images and, more importantly, when it's worth increasing it.
Happy shooting!
Leila Coker is a Northampton-based photographer specialising in interiors, landscapes, wildlife and commercial photography throughout Northamptonshire, Leicestershire and the West Midlands. Through Perfect Captures Photography, she combines technical precision with a passion for storytelling, helping clients and photography enthusiasts alike create images that stand out.
