
Mastering Aperture

How to Control Light, Depth of Field and Creative Expression
If ISO controls your camera's sensitivity to light, then aperture controls how much light enters your lens. More importantly, it also determines one of the biggest creative choices you'll make as a photographer—how much of your photograph is in focus.
Whether you're capturing a dramatic mountain landscapes, wildlife or a beautifully designed interior, understanding aperture gives you the creative control to tell your story exactly as you imagined it.
Let's take a closer look!
What Is Aperture?
Inside every camera lens is a set of thin blades called the aperture diaphragm. These blades open and close to create a circular opening that allows light to pass through the lens and onto your camera's sensor.
Think of it like the pupil of your eye. In bright sunlight your pupils become smaller to reduce the amount of light entering your eyes and in darkness they become larger to let in more light. Your camera behaves in exactly the same way.
Understanding f-Stops
Aperture is measured using f-numbers or f-stops. The letter f stands for focal length, and it is used because the aperture size is measured as a fraction of lens’s focal length divided by the physical opening diameter. This ratio is called the f-number or f-stop.
The Math Behind "F"
The Formula: The f-number is written as f / D, where f is the lens focal length and D is the physical diameter of the aperture opening.
Why it is a fraction: A 50mm lens (f = 50mm) with a physical opening of 25mm (D = 25mm) gives an f-number of 2, written as f/2 (50 / 25 = 2).
Why the numbers feel backwards: Because the formula divides the focal length by the opening size, a larger physical hole creates a smaller number (like f/2), while a tiny hole creates a large number (like f/22)
Some common values include:
f/1.4 • f/1.8 • f/2.8 • f/4 • f/5.6 • f/8 • f/11 • f/16 • f/22
A smaller number means a larger opening.
For example:
f/1.8 = Very large opening
f/16 = Very small opening
I promise, with a little practice, you forget about the formulas because it just becomes second nature.
Let me give you an exercise to help you understand this. If you place your index finger close in between your eyes and purely focus on the finger, you will notice that everything around is blurred, this will be the equivalent to a 1.4 aperture. Now slowly pull your finger backwards. As you do, notice how the background surrounding your finger is starting to become more in focus to the point that the whole of the background is in focus. This would have gone through the different f numbers until you stop. The point of full focus would be the equivalent of f/22 or f/32. Pretty clever! This is the most easiest and basic way of explaining aperture to a beginner because it gives you a visual example without the confusion.
Aperture Controls Two Things
1. The Amount of Light
A wide aperture (small f-number) allows significantly more light into the camera.
Perfect for:
Indoor photography
Evening light
Wildlife at sunrise
Portraits
Astrophotography
A narrow aperture (large f-number) lets in much less light.
Perfect for:
Bright sunny days
Landscapes
Architecture
Interior photography using a tripod
2. Depth of Field
This is where aperture becomes truly creative.
Depth of field describes how much of your image appears sharp from front to back.
Wide Aperture (f/1.4 – f/2.8)
Only a small part of the image is in focus.
The background becomes beautifully soft and blurred, helping your subject stand out.
This is often called bokeh.
Ideal for:
Portraits
Wildlife
Macro photography
Detail shots

Bokeh created by a wide aperture of f/3.2 to focus on my subject and blur out my unwanted background distractions.
Narrow Aperture (f/8 – f/16)
Much more of the scene remains sharp.
Ideal for:
Landscapes
Seascapes
Mountains
Interior photography
Architecture

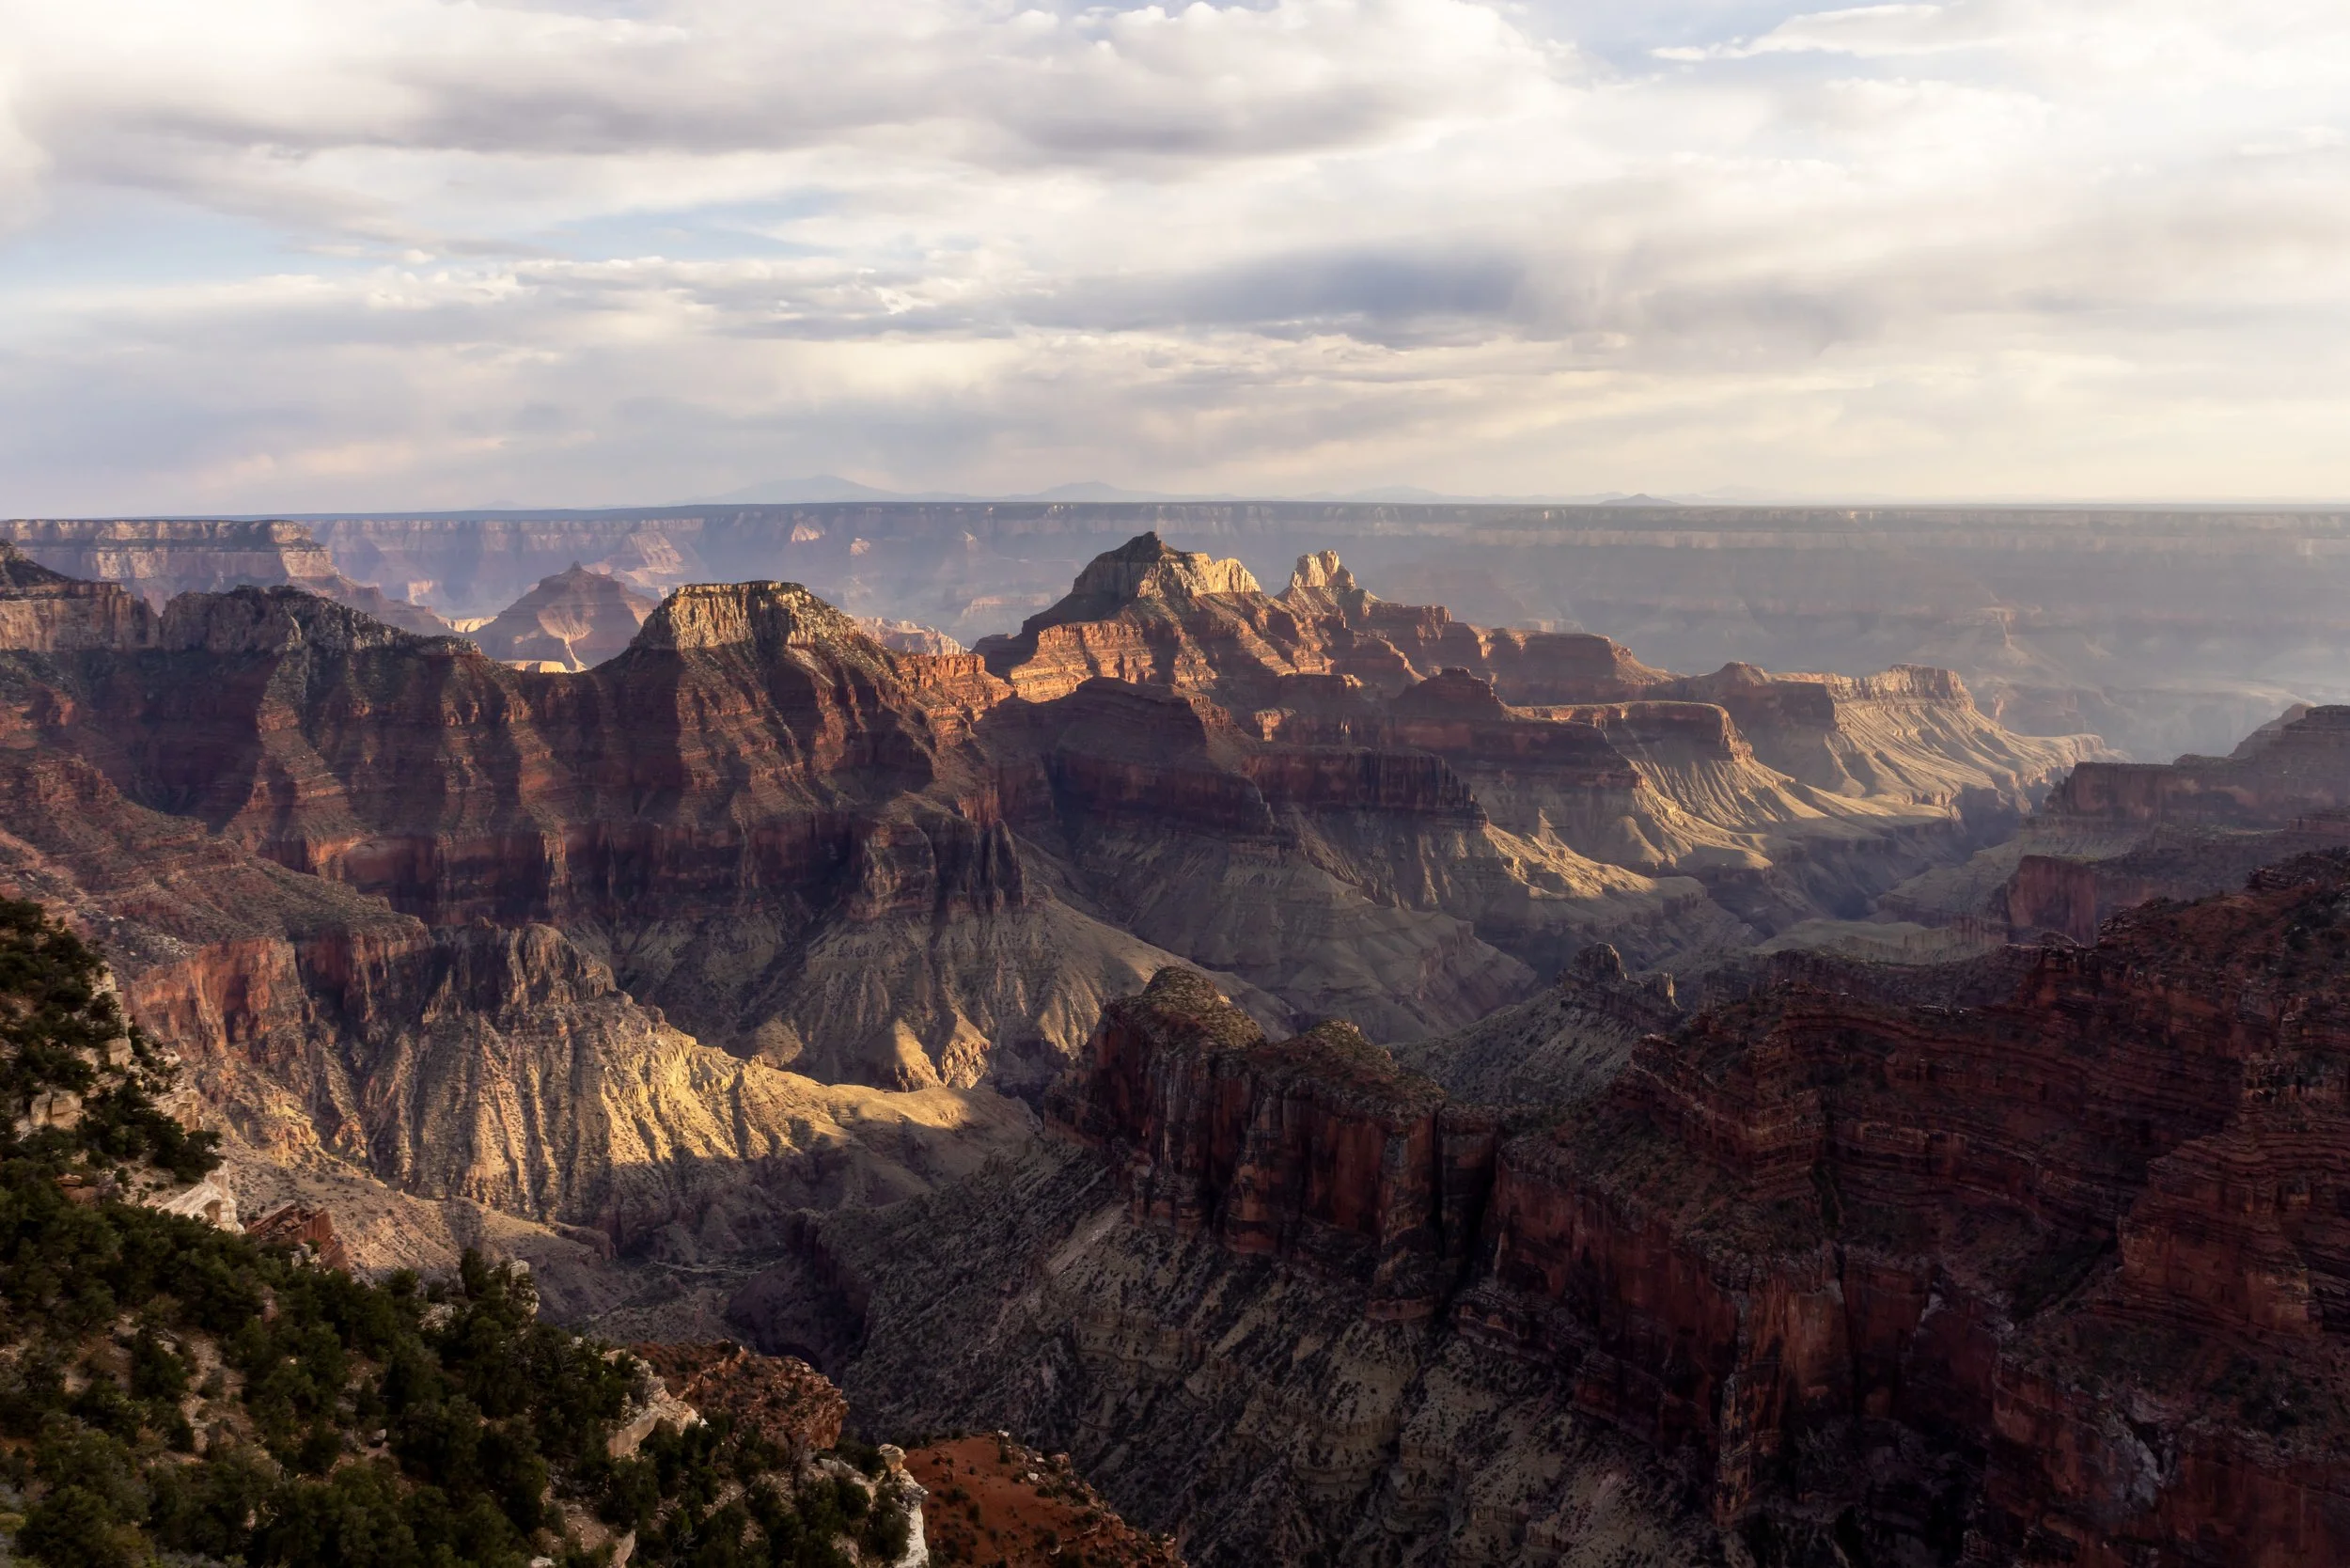
Sunset over Monument Valley in Arizona with an aperture of f/11 to capture my location.
Portrait vs Landscape
Another way to understand aperture is by comparing two completely different styles of photography.
Portrait Photography
Let’s look at Portrait Photography. Imagine photographing someone standing in a field photographing a person.
Using f/2, your subject remains beautifully sharp while the background melts away into soft colour and light. The viewer's attention goes directly to the person. This creates a fine art look.
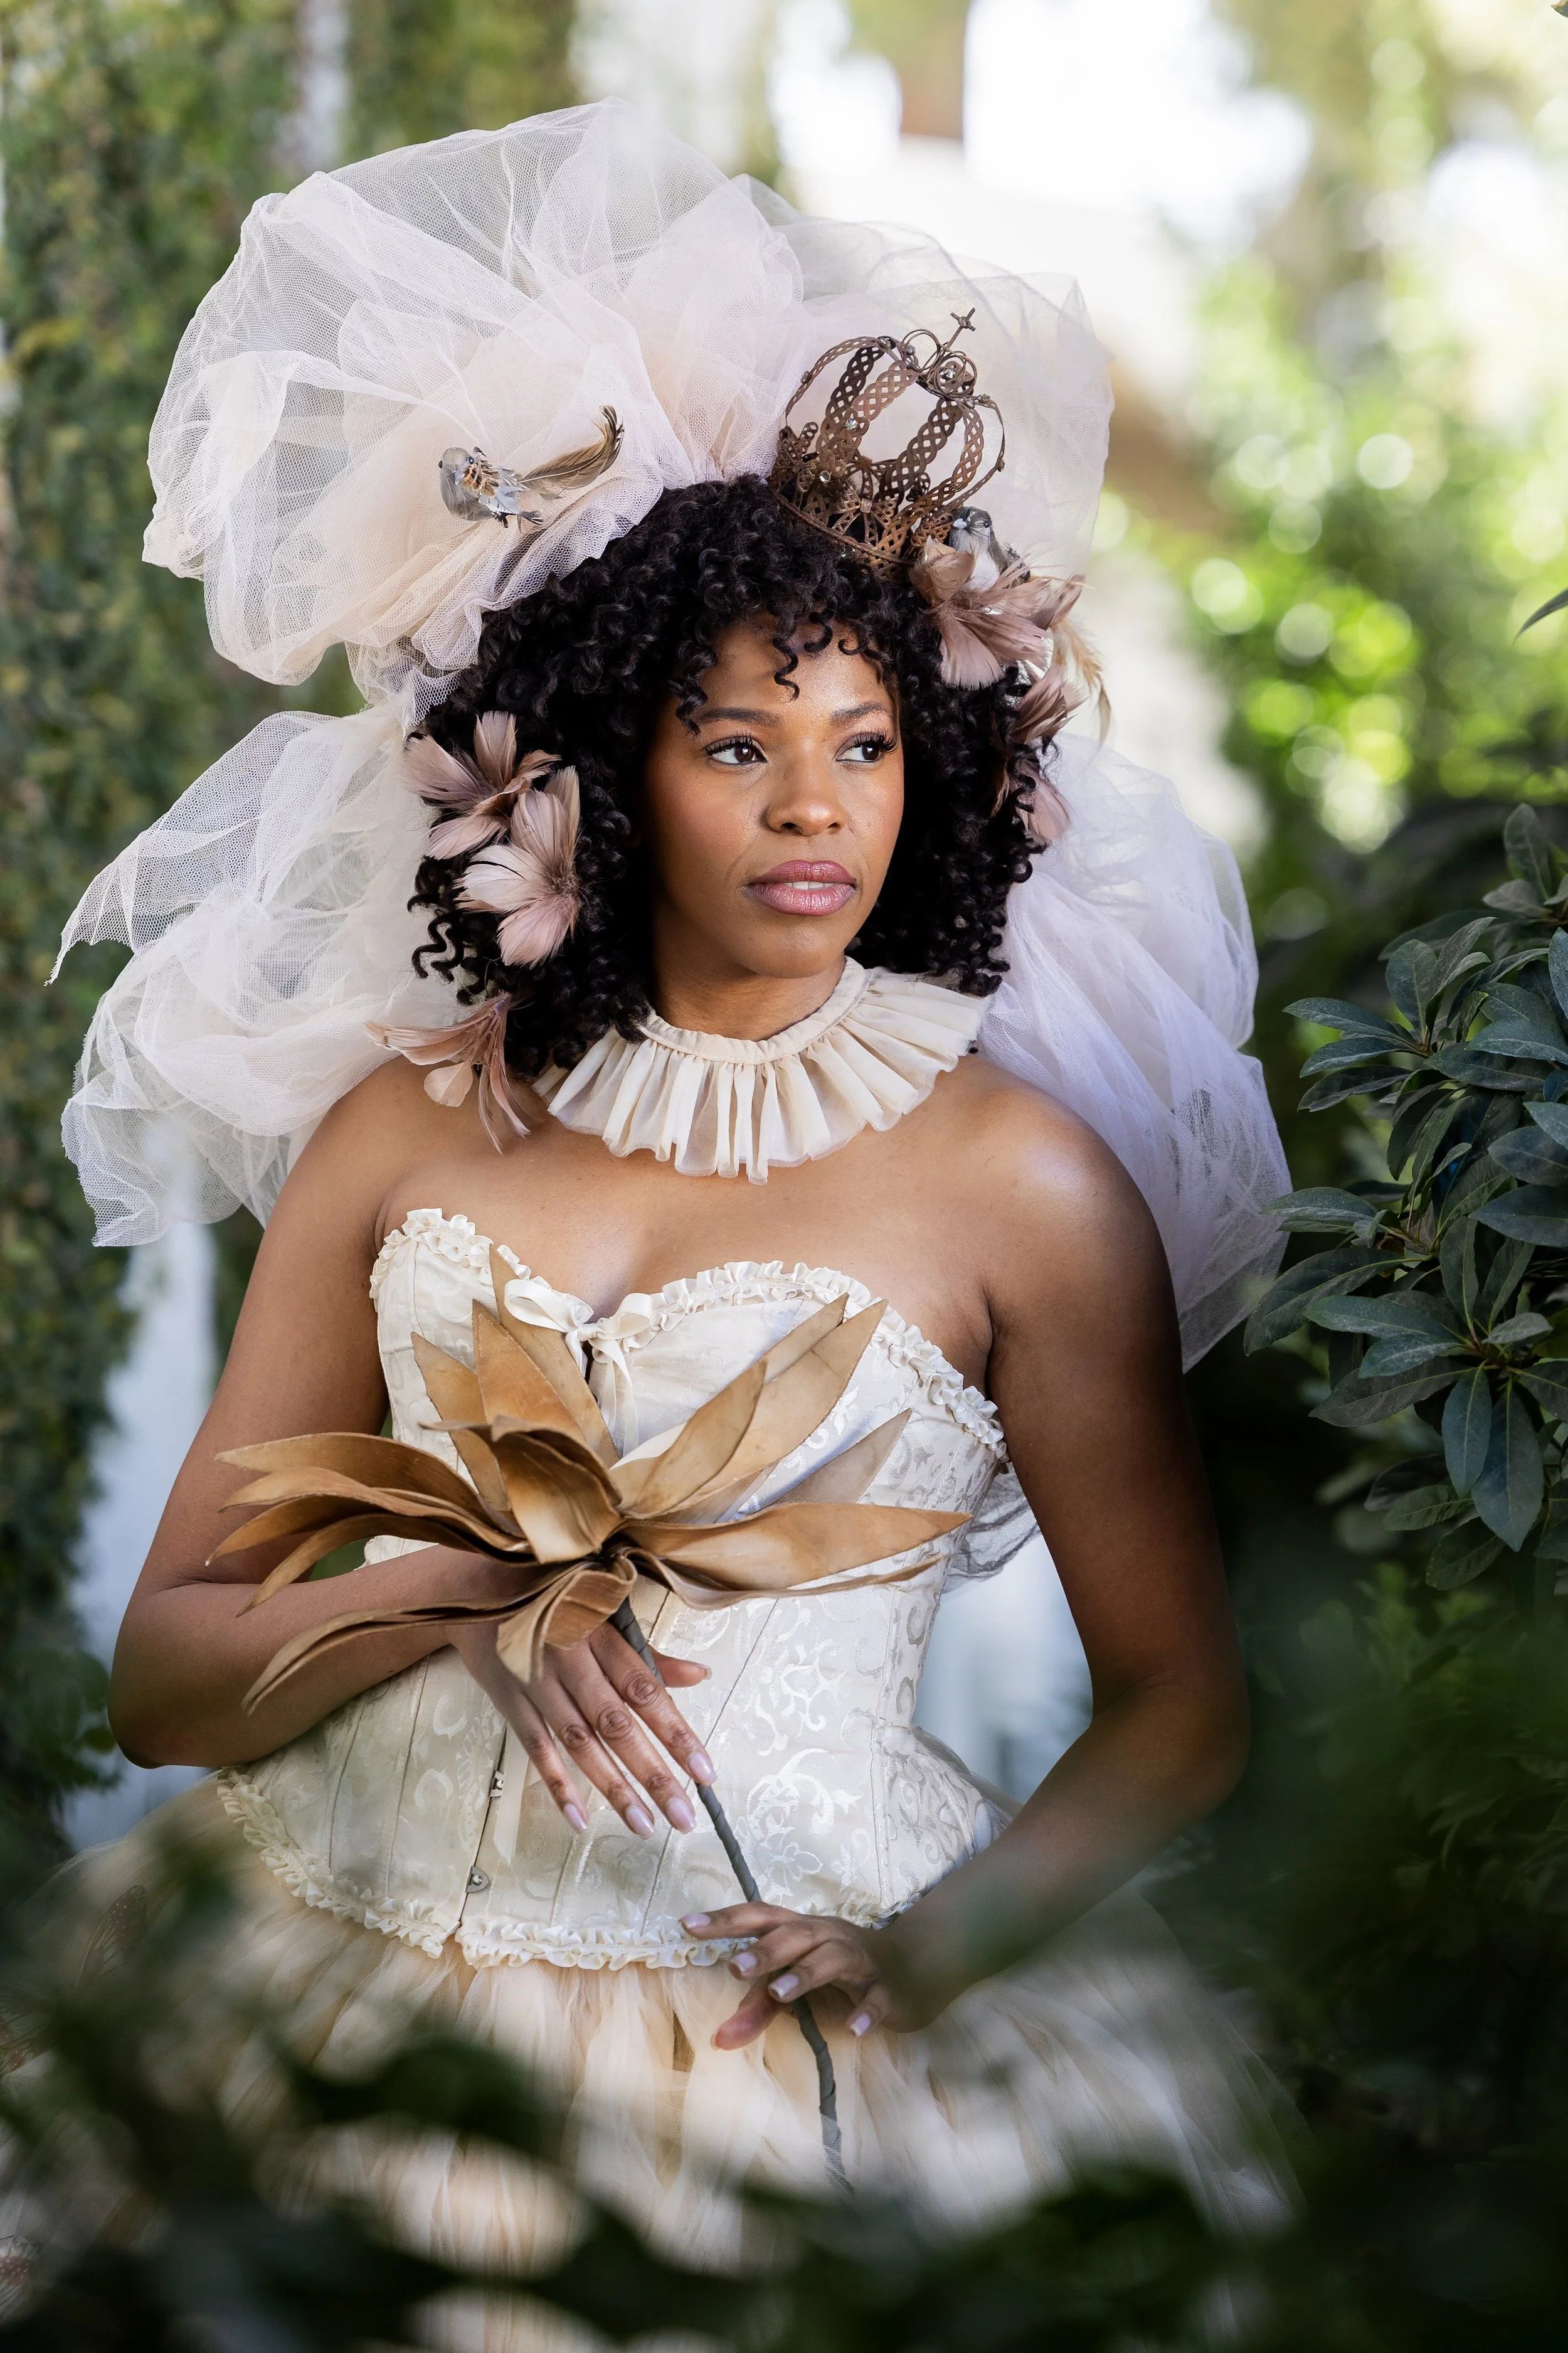
Canon r5, lens 70-200 on 2.8, iso 200
Landscape Photography
Now imagine standing on the edge of the Grand Canyon at sunrise. You don't want just one rock in focus. You want the flowers in the foreground, the cliffs in the distance and the clouds overhead all looking sharp.
This is where f/11 or f/16 becomes your best friend. You want to capture as much detail as you can in your frame. Like sports and portraiture, you want to blur out the backgrounds but landscape photography is completely opposite where you are using the light and colours to create the art without the blur.
Wildlife Photography
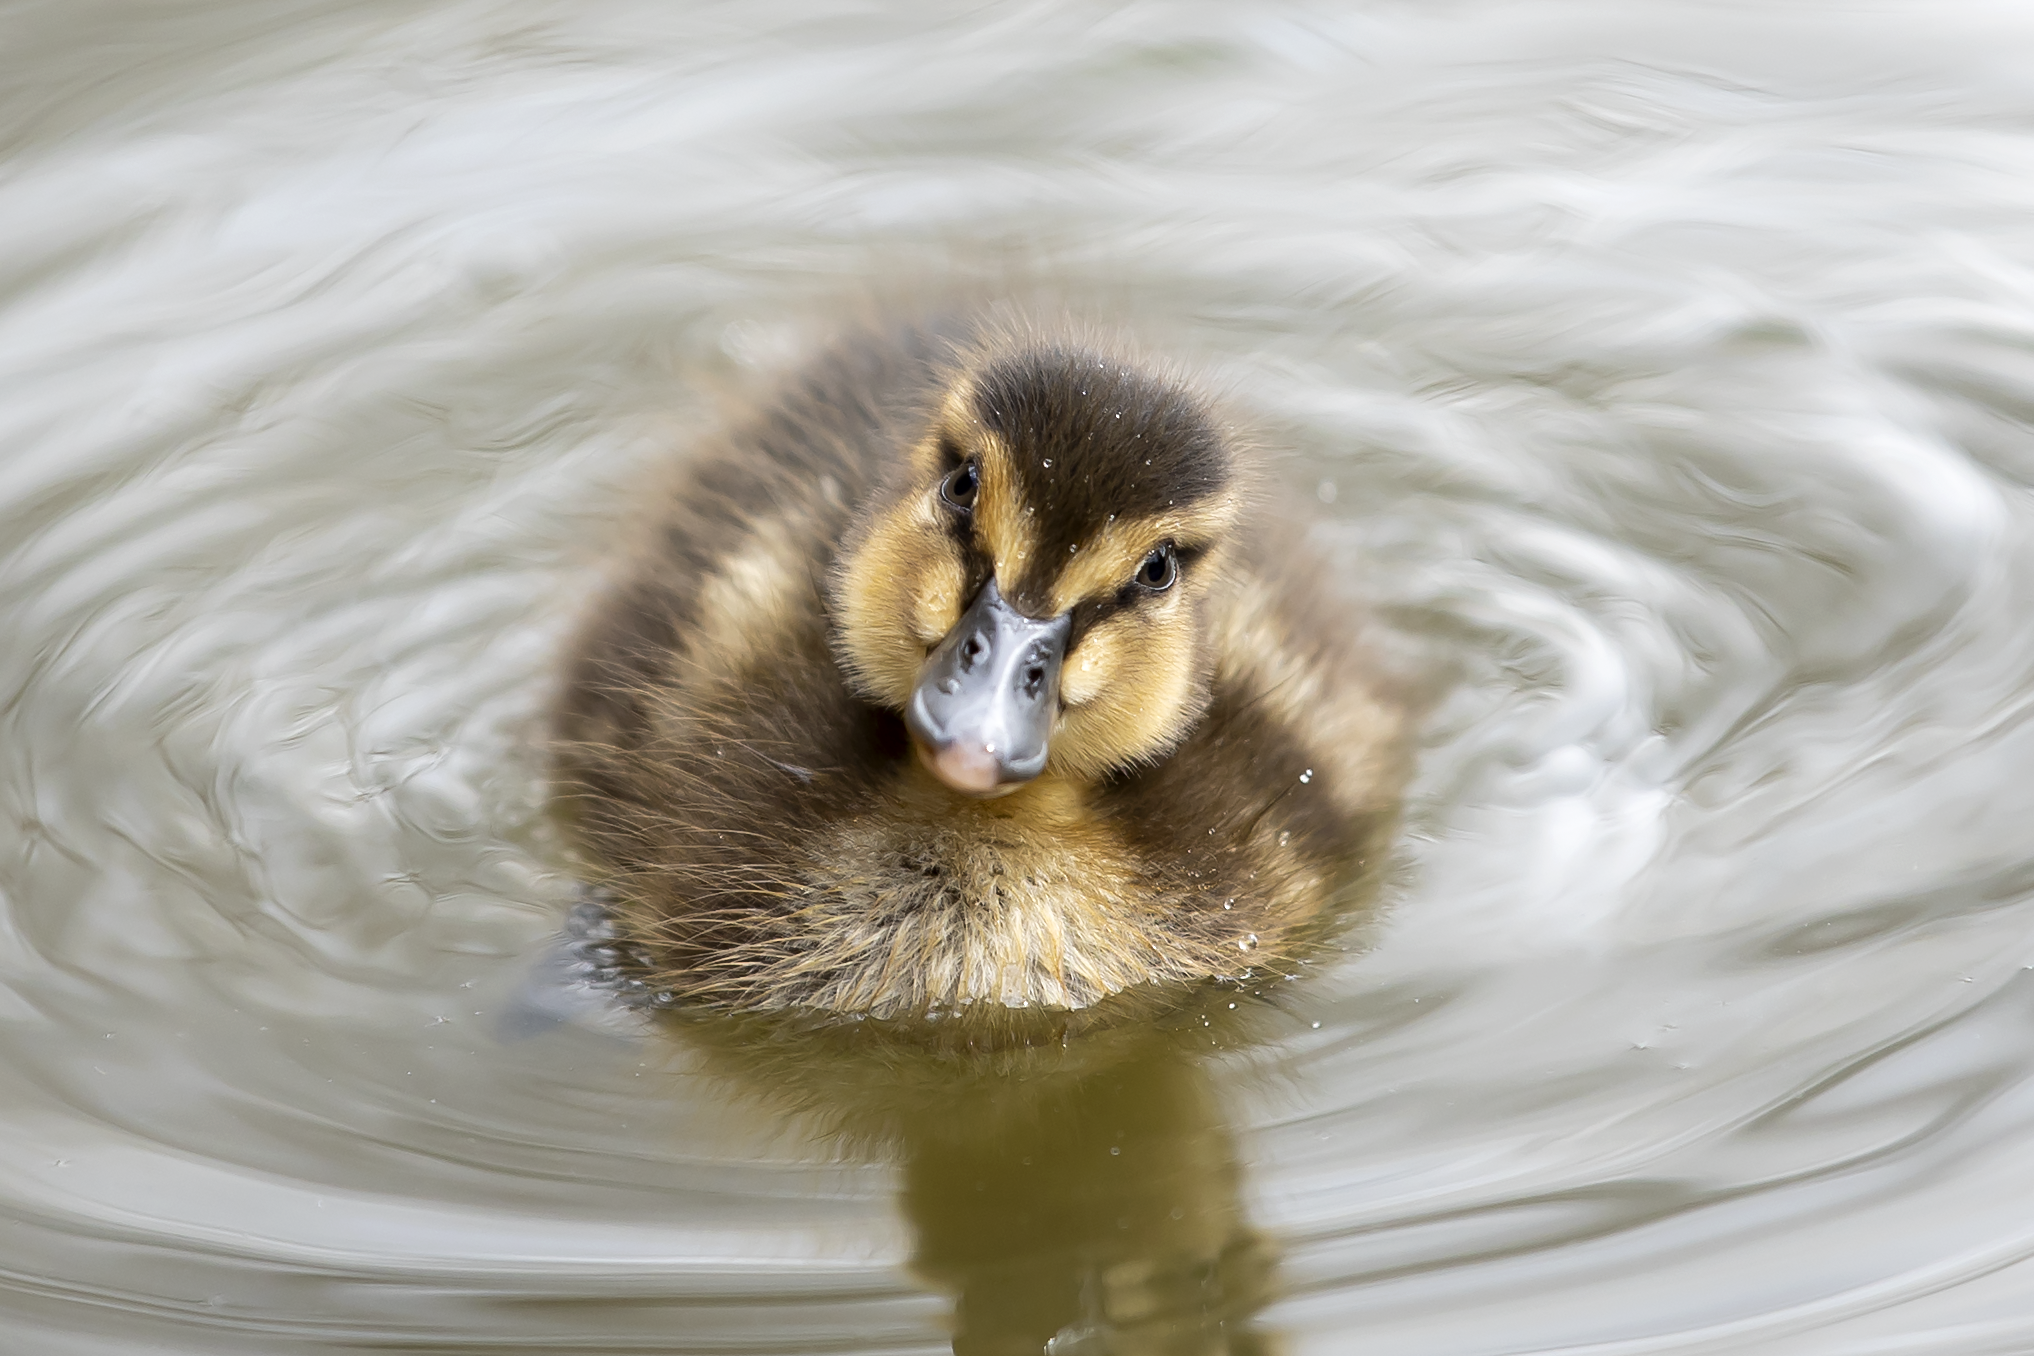
Wildlife photography often requires compromise.
Animals move quickly.
Light changes constantly.
You'll often find yourself balancing:
Wide aperture
Fast shutter speed
Higher ISO
For many wildlife photographers, f/4–f/5.6 provides an excellent balance between subject sharpness and beautiful background separation.
Common Beginner Mistakes
Using f/1.8 for Everything
Wide apertures look beautiful, but they aren't always the right choice. When photographing groups of people, only one face may be perfectly sharp. You need to up the aperture or if you are in a dark area, use a flash with a higher aperture to allow focus on all of your subjects.
Using f/22 Too Often
Many beginners assume the highest number always means the sharpest image but in reality, extremely small apertures can introduce diffraction, reducing overall sharpness. When I was beginner, I used to do this mistake all of the time and wonder why my images were not fully focused but I soon learned that most lenses perform at their sharpest around f/8–f/11.
Forgetting About Shutter Speed
Closing the aperture reduces the amount of available light so unless you increase ISO or slow your shutter speed, your image may become underexposed. It is amazing how everything in photography works together.
Practical Exercises
The fastest way to understand aperture is to experiment. Try photographing the same subject using various different apertures and when you compare the images, you'll immediately see how depth of field changes.
Recommended Starting Points
Photography Type Suggested Aperture
Portraits f/1.8 – f/2.8
Wildlife f/4 – f/5.6
Sports f/2.8 – f/4
Landscapes f/8 – f/11
Interior Photography f/8 – f/11
Night Sky f/1.4 – f/2.8
Final Thoughts
Aperture is far more than a camera setting—it's a creative decision. It determines where your viewer looks, how your image feels and how your story is told. The more you practise using aperture intentionally, the more confident you'll become in creating photographs that match your vision so next time you're out with your camera, don't just think about making the image brighter or darker but ask yourself: "How much of this scene do I want my viewer to see?" Once you start thinking that way, you'll begin using aperture creatively rather than simply technically.
Happy shooting!
Leila Coker
